Creating a Mind-Map UI in SwiftUI | raywenderlich.com

In this tutorial, you’ll learn how to create an animated spatial UI in SwiftUI with support for pan and zoom interactions.


This is a companion discussion topic for the original entry at https://www.raywenderlich.com/7705231-creating-a-mind-map-ui-in-swiftui

Hi Warren, thanks for sharing this tutorial. It’s complex but doable. Could you provide a path to delete & add nodes?

Hi Tim

Thanks for reading the tutorial. The routine for adding nodes is all demonstrated in Mesh.sampleProceduralMesh()

I’ve also attached the code for view called Helpers that provides controls to add child & sibling , and delete node.

You can add Helpers into the VStack of SurfaceView to enable all the controls.

import SwiftUI

struct Helpers: View {
  
  @ObservedObject var mesh: Mesh
  @ObservedObject var selection: SelectionHandler
  
  func onlySelectedNode() -> Node? {
    return selection.onlySelectedNode(in: mesh)
  }
  
  var onlyOneNodeSelected: Bool {
    return selection.onlySelectedNode(in: mesh) != nil
  }
  
  var rootNodeSelected: Bool {
    if let node = self.onlySelectedNode() {
      return node == mesh.rootNode()
    }
    return false
  }
  
  var canAddSibling: Bool {
    if let _ = self.onlySelectedNode(), rootNodeSelected == false {
      return true
    }
    return false
  }
  
  
  var body: some View {
    ZStack {
      HStack(spacing: 16.0) {
        Button(action: {
          if let parent = self.onlySelectedNode() {
            let position = self.mesh.positionForNewChild(parent, length: 300)
            let child = self.mesh.addChild(parent, at: position)
            self.selection.selectNode(child)
          }
        }) {
          HStack {
            Text("Add Child")
            Image(systemName: "arrow.turn.right.down")
          }
          .padding(8.0)
          .overlay(
            RoundedRectangle(cornerRadius: 5)
              .stroke(self.onlyOneNodeSelected ? Color.purple:Color.gray, lineWidth: 5)
          )
          
        }
        .foregroundColor(self.onlyOneNodeSelected ? Color.purple:Color.gray)
        Button(action: {
          if let node = self.onlySelectedNode(),
            self.canAddSibling,
            let parent = self.mesh.locateParent(node) {
            if let sibling = self.mesh.addSibling(node) {
              let position = self.mesh.positionForNewChild(parent, length: 300)
              self.mesh.positionNode(sibling, position: position)
              self.selection.selectNode(sibling)
            }
          }
        }) {
          HStack {
            Text("Add Sibling")
            Image(systemName: "arrow.turn.down.right")
          }
          .padding(8.0)
          .overlay(
            RoundedRectangle(cornerRadius: 5)
              .stroke(self.canAddSibling ? Color.green:Color.gray, lineWidth: 5)
          )
        }
        .foregroundColor(self.canAddSibling ? Color.green:Color.gray)
        Button(action: {
          let selectedNodes = self.selection.selectedNodes(in: self.mesh)
          self.mesh.deleteNodes(selectedNodes)
        }) {
          HStack {
            Text("Delete Node")
            Image(systemName: "trash")
          }
          .padding(8.0)
          .overlay(
            RoundedRectangle(cornerRadius: 5)
              .stroke(self.onlyOneNodeSelected && rootNodeSelected == false ?  Color.red: Color.gray, lineWidth: 5)
          )
        }
        .foregroundColor(self.onlyOneNodeSelected && rootNodeSelected == false ?  Color.red: Color.gray)
      }
      .padding(8.0)
    }
  }
}

struct Helpers_Previews: PreviewProvider {
  
  @State static var mesh = Mesh()
  @State static var selection = SelectionHandler()
  
  static var previews: some View {
    Helpers(mesh: mesh, selection: selection)
  }
}

Hi Warren, Thanks very much!

Stupid question: How to do that and where exactly?
“You can add Helpers into the VStack of SurfaceView to enable all the controls.”

Regards,
Tim

No worries

  1. Create a new file in the project called Helpers.swift. Copy/Paste that code into the file.

  2. Open SurfaceView.swift

  3. Examine the body property of struct SurfaceView. You’ll see that the top level item is a VStack.

  4. Delete the 3 Informational text fields. They don’t need to be there anymore.

  5. Instantiate Helpers , injecting the mesh and the selection. Your body should now start like this.

     var body: some View {
         VStack {
           // 1
           Helpers(mesh: mesh, selection: selection)
           TextField("Breathe…", text:
           .....
    

Screenshot 2020-03-31 at 13.53.54

My version has a white background because I’m painting the backing rect with Rectangle().fill(Color(UIColor.systemBackground))

Hi Warren,

This works perfect!

Next question how to make the changes persistent? :wink:

Regards,

Tim

Hi Tim

Thats not something I implemented for the tutorial but think about what you need to do for this.

  1. Conform Node to Codable .
extension Node: Codable {}
  1. Conform Edge to Codable
extension Edge: Codable {}
  1. Conform Mesh to Codable .
class Mesh: ObservableObject, Codable

This is harder, you’ll need to override

init(from decoder: Decoder) throws

and

func encode(to encoder: Encoder) throws

and then consider what you need to store & restore.

  • the nodes array.
  • the edges array.
  • the rootNodeID value.

Theres a great tutorial on RW on the Codable protocol and how to create custom implementations.

Once you have that you can read & write to a file. You’d do that in the SceneDelegate class by implementing the appropriate UIWindowSceneDelegate methods.

That would be the basic path to a persistent model.

Good luck.

1 Like

Hi Warren,

Thanks so much!

Your support is very much appreciated.

It’s a great tutorial!

Kind Regards,

Tim

I’ve started a GitHub for some ongoing work as I play some more with the concept.

I added persistence this morning.

1 Like

This was phenomenal. I am looking into having gravity at the root node with “spring”-ing drags on the nodes. Any pointers on where to begin?

It’s a nice idea. I’d love to see it working.

SwiftUI animation does support spring dynamics e.g

.animation(.interpolatingSpring(stiffness: 50, damping: 1))

You’d apply that to the nodes maybe by bouncing them round the end position.

But AFAIK none of the UIKitDynamics API have been ported over yet and I didn’t see any mention of them in the WWDC session. Maybe poke around Xcode12 and see if that’s been done.

Hi Warren,

Thank you for providing this tutorial. I am interested in some of the algorithm you used in this project (e.g. zoom viewport, infinite 2d surface). Could you provide some recommend readings for learning these graphical related techniques systematically? It doesn’t have to be Apple-tech specific.

Thank you for your attention

Hi , thanks for reading.

TBH I don’t really know. I just thought about it for a while, imagined how I wanted it to be in my head and applied learnings from my personal projects which involve large drawings in 2D. Then I tried to use that head model with what SwiftUI provides which took a lot of iteration and failures.

Imagine you are sitting in a room and you have a window to look out of. Just outside that window is a drawing on a sheet of paper that’s bigger than the window. Draw an X on the center of the paper. There’s the origin and it never changes. You also have a paper shifting guy to move the paper.

If you want to see everything that’s on the paper you need to get your paper shifting guy to shift the paper up, down, left and right. You know where the origin is relative to your window. That’s the essence of the view port at 1x resolution.

Then you have a great idea, you want to see more stuff at the same time so you get your paper shifting guy to move the paper away from you. Some of the details are harder to see but now you get a better perspective, forest vs trees. That’s zoom.

Last, you need to draw some stuff beyond the current limits of the paper. Grab some sellotape and stick some more paper on the edge, you can do this as much as you need to. That’s the infinite surface.

I don’t know any particular books but I’m guessing there’s great works on 2D graphics from anytime in the past 30 years.

2 Likes

Hi Warren,

thanks for the great tutorial. I can state, I learned a lot about it. Some idea for improvement I had (and unfortunately didn’t succeed to implement) is, to let the new node (after create and drag it) snap in on a virtual grid (e.g. 20 x 20) so that the bubbles are somehow sorted in a line easily. This means, the nodes are placed not on x=24.23898923, y=88.678787686, the will snap in on x=20.000, y=80.000 instead. Can you please help in implementing this?

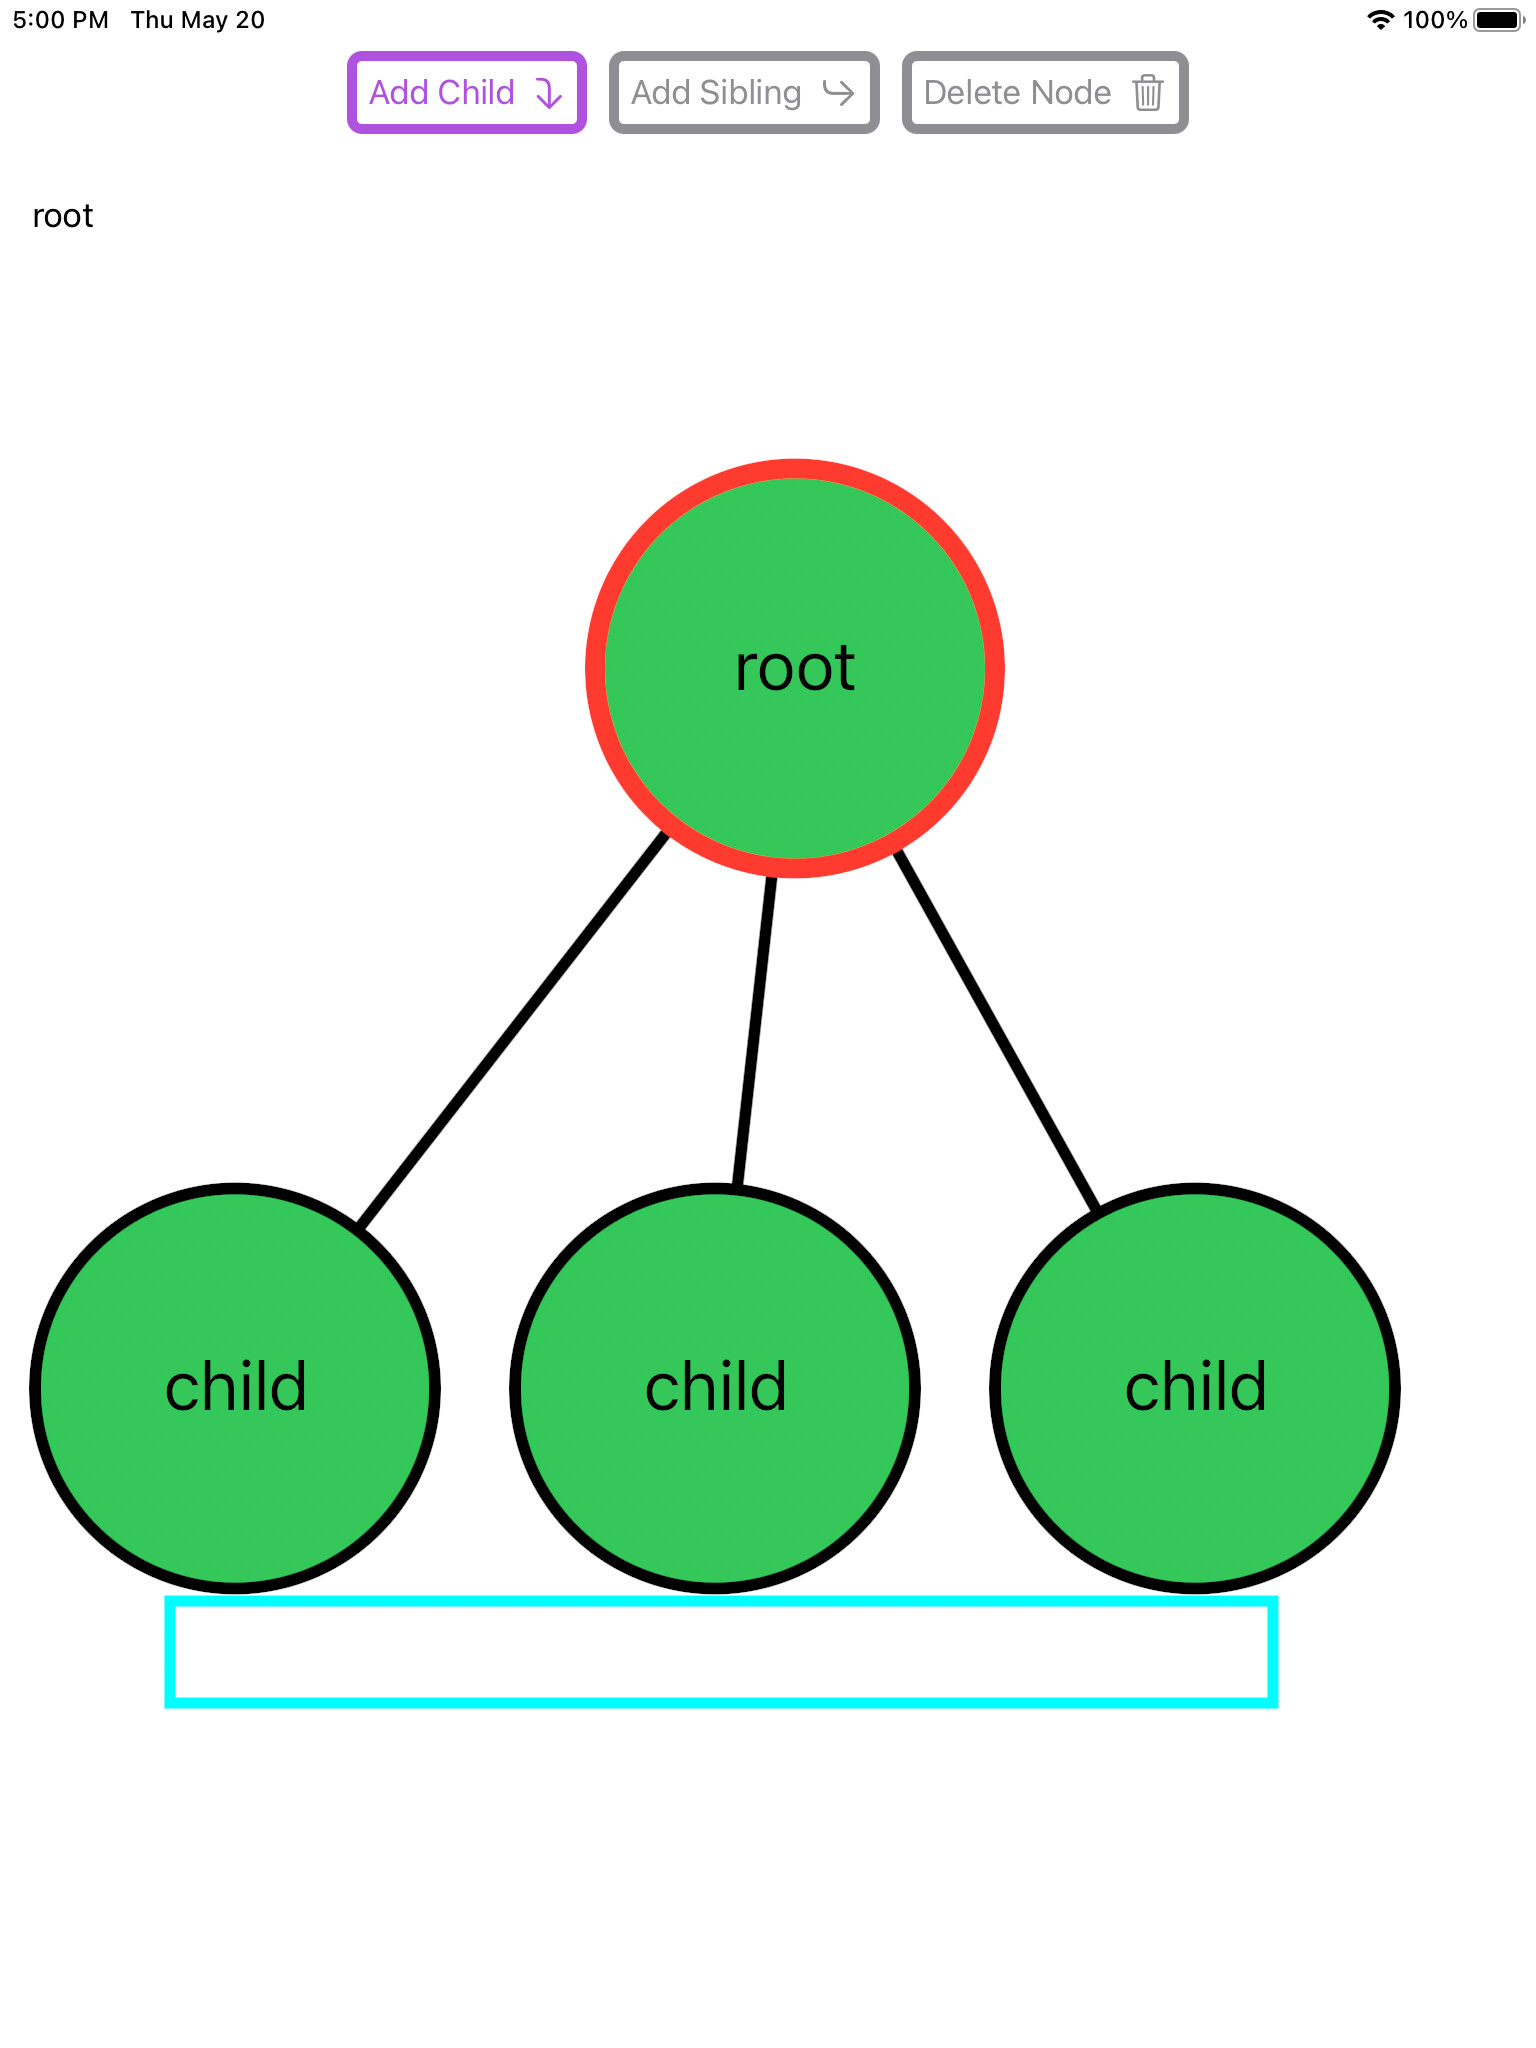
Thanks for reading, it was a fun and challenging tutorial to create.

To implement grid snap think about what you want to achieve. You want the node to snap into position once the drag ends. You want to round up or down the final x-y value for the position change to your chosen granularity (10). SurfaceView is where you deal with drag events. onEnded is where you conclude the drag event of DragGesture

.onEnded { value in
      self.processDragEnd(value)
 })

processDragEnd eventually falls through to SurfaceView.processNodeTranslation for a translation op which in turn calls Mesh.processNodeTranslation

Mesh.processNodeTranslation is the ultimate setting point for the node position.

func processNodeTranslation(_ translation: CGSize, nodes: [DragInfo]) {
  nodes.forEach({ draginfo in
    if let node = nodeWithID(draginfo.id) {
      let nextPosition = draginfo.originalPosition.translatedBy(x: translation.width, y: translation.height)
      positionNode(node, position: nextPosition)
    }
  })
}

Both onChange on onEnded call here and you don’t want onChange to round to grid as that will cause the drag to be jaggy. You can change the call chain to include a grid snap boolean.

In Surface.swift change

func processNodeTranslation(_ translation: CGSize)

to

func processNodeTranslation(_ translation: CGSize, snapToGrid: Bool = false)

then in Mesh.swift do the same change.

func processNodeTranslation(_ translation: CGSize, nodes: [DragInfo])

to

func processNodeTranslation(_ translation: CGSize, nodes: [DragInfo], snapToGrid: Bool = false)

Chain that boolean inside Surface.swift.

In processDragEnd(_ value: DragGesture.Value) change the call:

processNodeTranslation(value.translation)

to

processNodeTranslation(value.translation, snapToGrid: true)

Then in processNodeTranslation glue that into the call to Mesh.processNodeTranslation

change:

mesh.processNodeTranslation(scaledTranslation,
                                nodes: selection.draggingNodes,
                           snapToGrid: snapToGrid)

After plumbing snapToGrid down through the call chain, Mesh.processNodeTranslation has enough info to decide whether or not to snap to grid.

In Mesh change nextPosition from let to var then do a rounding to 10 by:

  1. dividing by 10
  2. round to closest integral
  3. multiply by 10
var nextPosition = draginfo.originalPosition.translatedBy(x: translation.width, y: translation.height)
if snapToGrid {
  let granularity: CGFloat = 10.0
  nextPosition.x = (nextPosition.x/granularity).rounded(.toNearestOrEven) * granularity
  nextPosition.y = (nextPosition.y/granularity).rounded(.toNearestOrEven) * granularity
}

In summary you change the final source of truth for node position. UX for drag is kept smooth but the final position set operation rounds out to your chosen granularity.

Simulator Screen Shot - iPad Pro (9.7-inch) - 2021-05-20 at 17.00.50

1 Like

Hi Warren,
many thanks, this is I was looking for. Works as expected and was provided even more faster than I expected. - Thanks again, JĂĽrgen.

Hi @warrenburton ,
Just wanted to know, Why you choose name EdgeProxy? Is it some pattern?

1 Like

Hi Harpreet

It’s a long time ago but I think it was to do with the animation or drawing of the edges. I couldn’t pass the actual edge into the view and get the edge to redraw so each edge had to be mapped into a struct which carried the end points so literally a EdgeProxy is a proxy (stand in) for an Edge

1 Like

Hey, I was wondering if it’s possible to include a tree data structure to lay out the nodes.

Hi

Always remember, your data model is not the view. You have a data model that flows out from the root node. IIRC the model is already a tree but that’s not important. You can use a recursive algorithm to arrange the x,y position of the nodes into a tree view to display them.